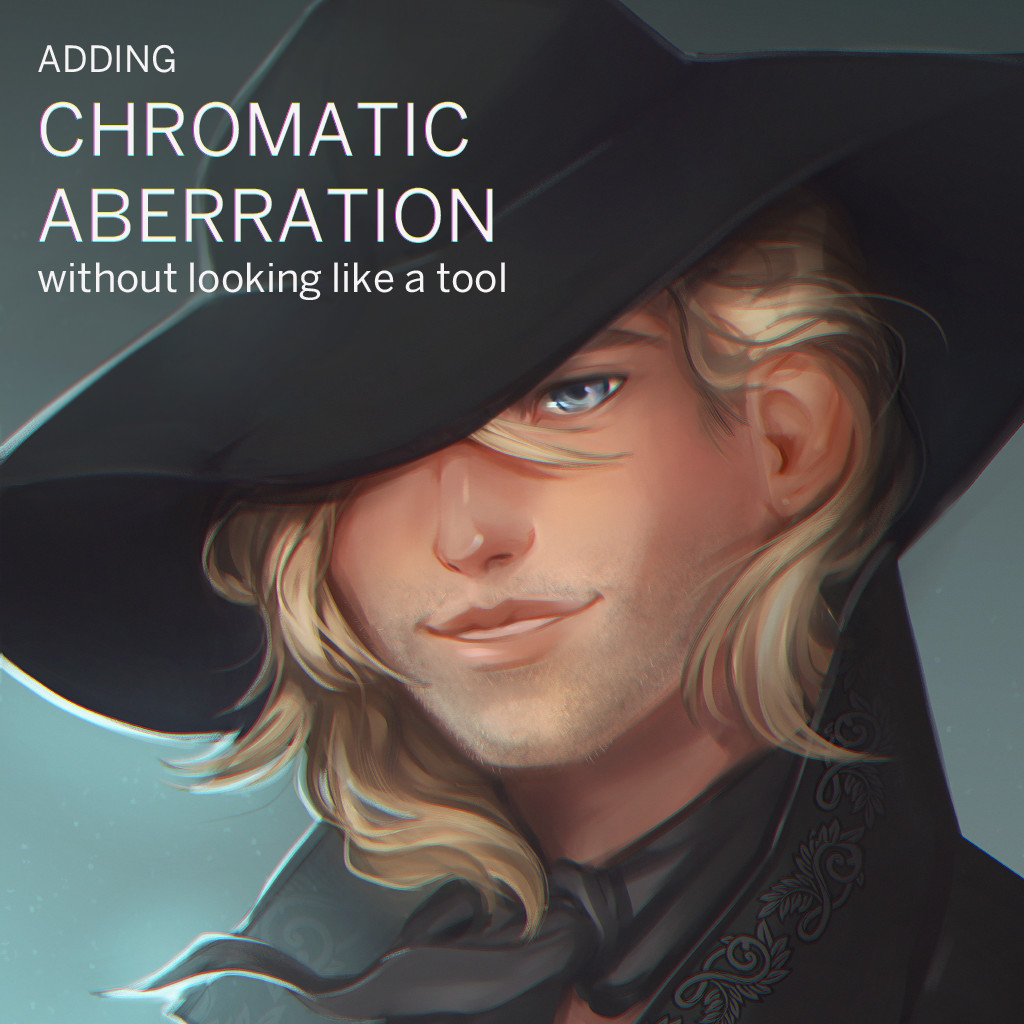
A quick tip on how to color lines without having to paint them all manually. My current layer setup allows me to paint directly under the lines, and make line-based concepts with color variation without having to repaint the lines every time!
Done in Clip Studio Paint, but the options are translatable across all basic drawing programs that support layer styles.

Start with a basic black and white sketch. Since we're keeping the lines in the final product, it needs to be fairly clean.

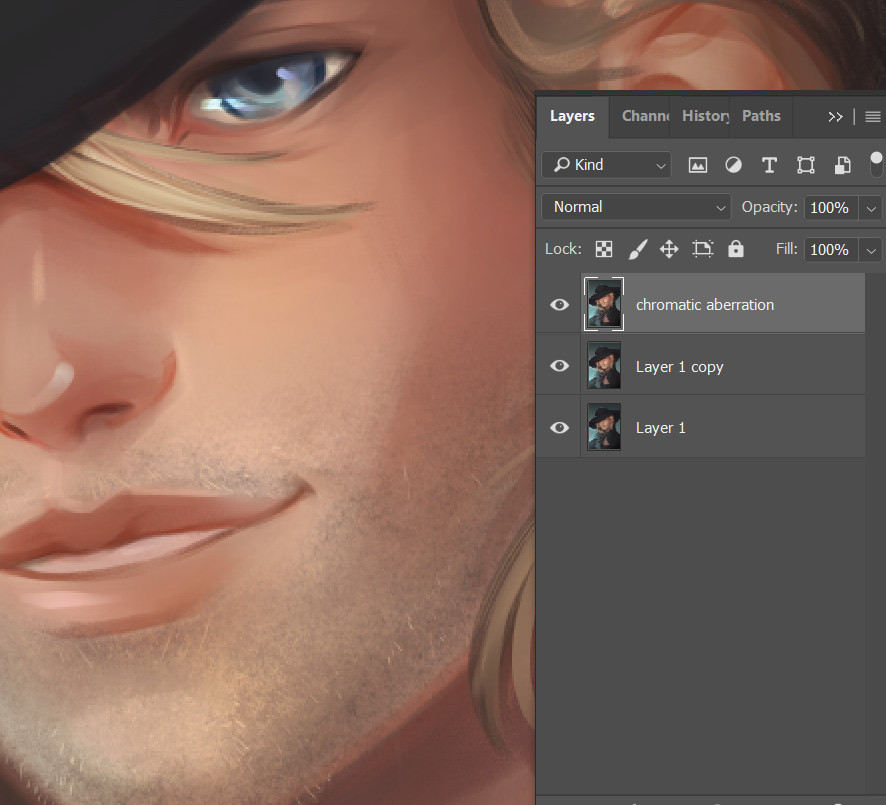
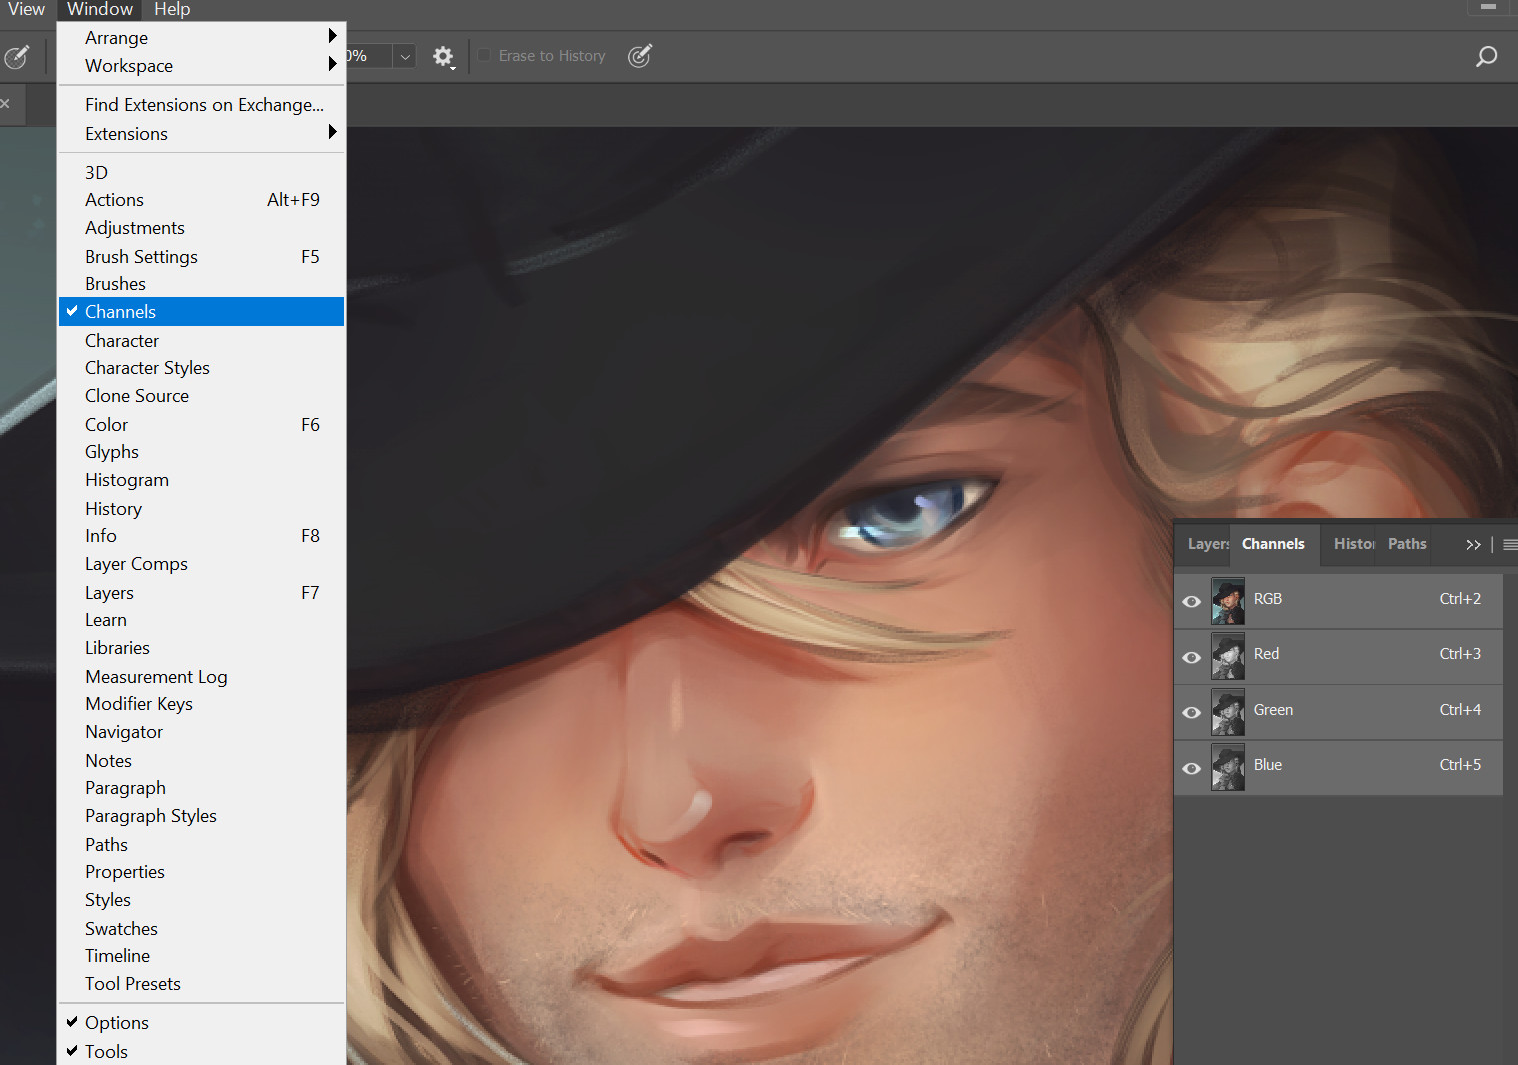
Select the outside of your drawing, invert the selection (ctrl+shift+i), and fill it with a solid color. Lay your flat colors on top of it using clipping masks. This way you can use them as selections (by holding ctrl and clicking on the layer), making the painting process a lot faster and allowing you to tweak colors easily. Here is my usual layer setup:

Once you have your basic colors down, we will color the lines! I prefer doing that before I hop into shading since it lets me pick the darks of lines and shade with them for a quicker and more natural effect.

To do this, take the lines layer (mine is masked to make the bottom lines a little lighter) and create a layer on top of it. Right click and turn it to a clipping mask over your lines layer, and fill it with a dark saturated color -- purple and red works best for humans, but feel free to experiment!

Now set the lines layer on "overlay".

Boom. Now the lines will be affected by the colors underneath them. You can tweak your line color layer to get closer to your desired effect and change the transparency of your line layer to make them more or less subtle.

Now draw the rest of the owl.